 This article introduce how to launch and config WordPress at first time, based on the composed WordPress docker container. With the several WordPress plugins, setup the RESTful API and config their permissions to register users, create new posts etc.
At first, please following the previous post to compose the latest WordPress docker container.
Start the composed WordPress docker container
1 2 | |
You should be able to get the container IP address (not localhost, or 127.0.0.1) with the commands:
1 2 3 4 5 6 7 8 | |
Now open a browser to access the IP address with the port which set up in the composed yaml file: docker-compose.yml:
1
| |
Config WordPress with a blog name and admin account
At the very beginning, you should get the following web interface:

Selecting your favorite language, then click “Continue”. At the next UI, you have to input some critical information, like site title, the first user name, password and email address. The first user should be the administrator for this installation by default. (You can change them all after the first successful login):

After clicking “Install WordPress” button at bottom, several seconds later, the WordPress is ready on your machine.
Login WordPress with your first user name and password:

Then done, WordPress admin UI is displayed:

Install some plugins for RESTful api
For mobile development, we have to install some plugins to support RESTful API, which should be used to connect WordPress server from the mobile clients.
The first plugin is “JSON API”. “JSON PAI” provides a lot of functions, such as create new posts, remove posts, etc. Click “Plugins” at the left sidemenu, then “Add New”:

Put the name “json api” into the search box, push the “return” on keyboard:

Click the “Install Now” button just below “JSON API”, WordPress will start to install the plugin. However, after intallation is finish, you have to click the “Activate Plugin” link as the following image:

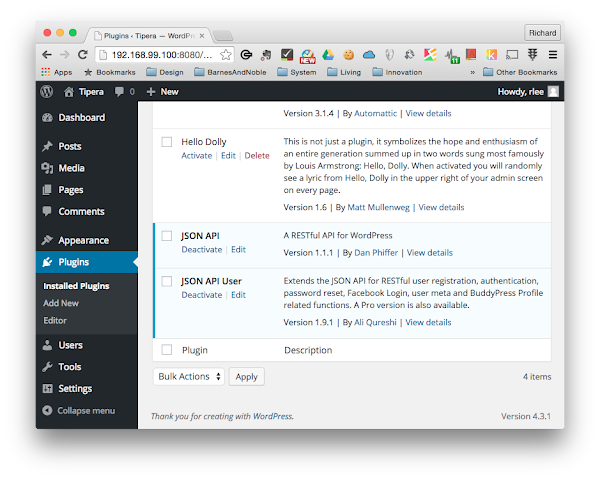
Same process for the second plugin “JSON API User”. This plugin provides some useful functions to register and/or create new user with the RESTful api on WordPress. Eventually, you should get the following picture to make sure the plugins are ready for the next steps here:

Config the permission for registering user, creating post, etc.
Once the plugins installed, we still need to config these plugins to activate the functionalities according your requirements. Click “Settings” from the left sidemenu, then “JSON API”:

You should find all but “Core” functionality need to be “Activate”d, like:

Turn “Posts” and “User” on by clicking the link just below them, as:

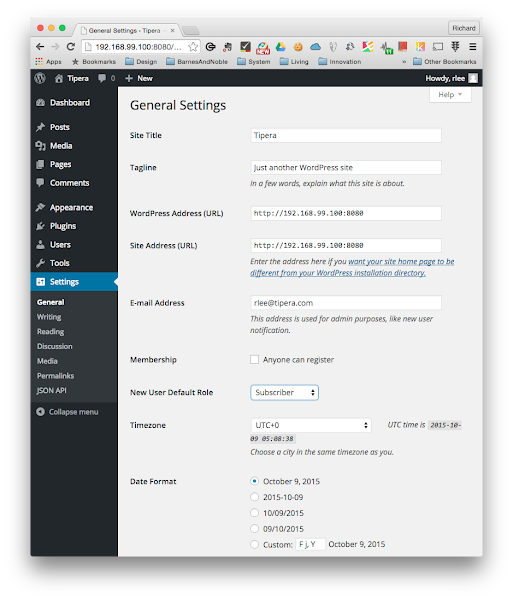
After configuring for plugins, we have to set the default new user have the permission to create posts by setting up the default new user as “Author”. Click “Settings”, then “General”, as:

Change the “New User Default Role” to “Author”:

Don’t forget click the button at the bottom of the page to “Save Changes”.
Verify the connections
We need several test cases to verify the connections, basically, just write the test cases, then run them automatically. For simplifying the validation process, I created a repository for the test cases, and leverage Jasmine as the test framework, you have to install nodejs (please refer to my previous blog here) then Jasmine-node globally, as:
1
| |
Clone the automation test repository from github:
1
| |
Enter the tests folder, run the test cases:
1 2 3 4 5 6 | |
If you experience any failure, probably you have to modify the file automation_spec.js to your IP address which is different on different host.
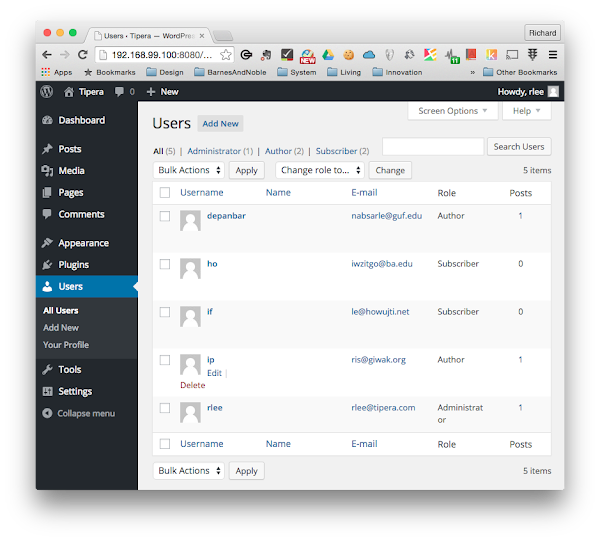
You should find some new user created by clicking “Users” from the left sidemenu, as:

And new posts by clicking the “Posts” from the left sidemenu:

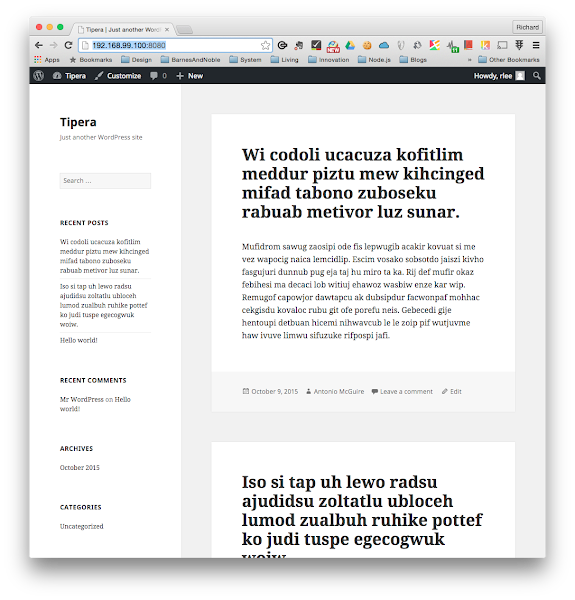
Or home page here http://192.168.99.100:8080/, as:

References
- https://wordpress.org/plugins/json-api/
- https://wordpress.org/plugins/json-api-user/
- https://github.com/lifuzu/capstone4tipcalc.git
Written with StackEdit.